
Documentation Index

Fetch the complete documentation index at: https://help.socialmatix.com/llms.txt

Use this file to discover all available pages before exploring further.

This guide walks you through creating your first social wall in SocialMatix—from connecting a source to embedding the wall on your website.

Before you begin

  • A SocialMatix account
  • Login credentials for at least one social account you want to display (e.g., Instagram, Facebook, TikTok)
  • Access to your website’s code or CMS so you can paste an embed snippet

Steps

1

Add a source to your feed

Screenshot 2026 06 02 At 15 20 05
Click on “Add Source” in My First Feed
1

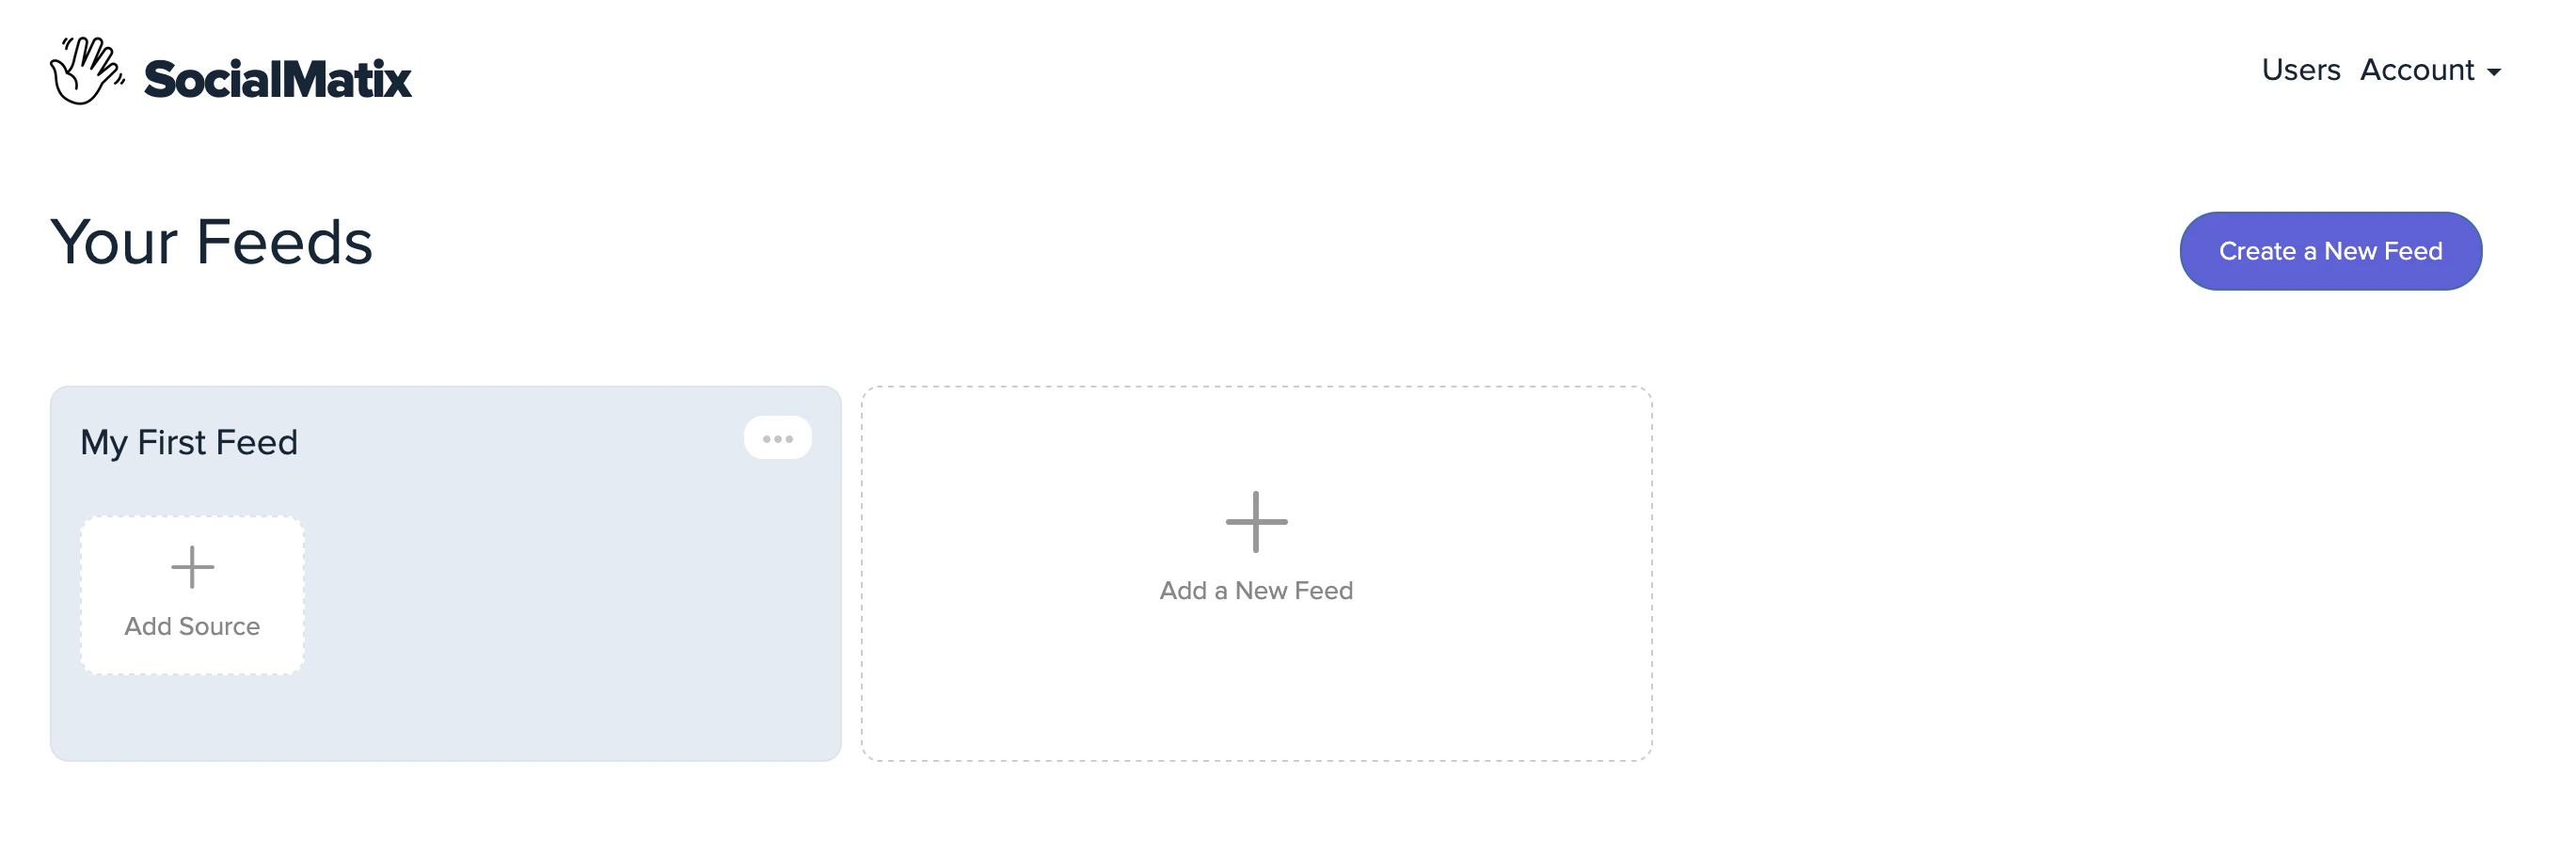
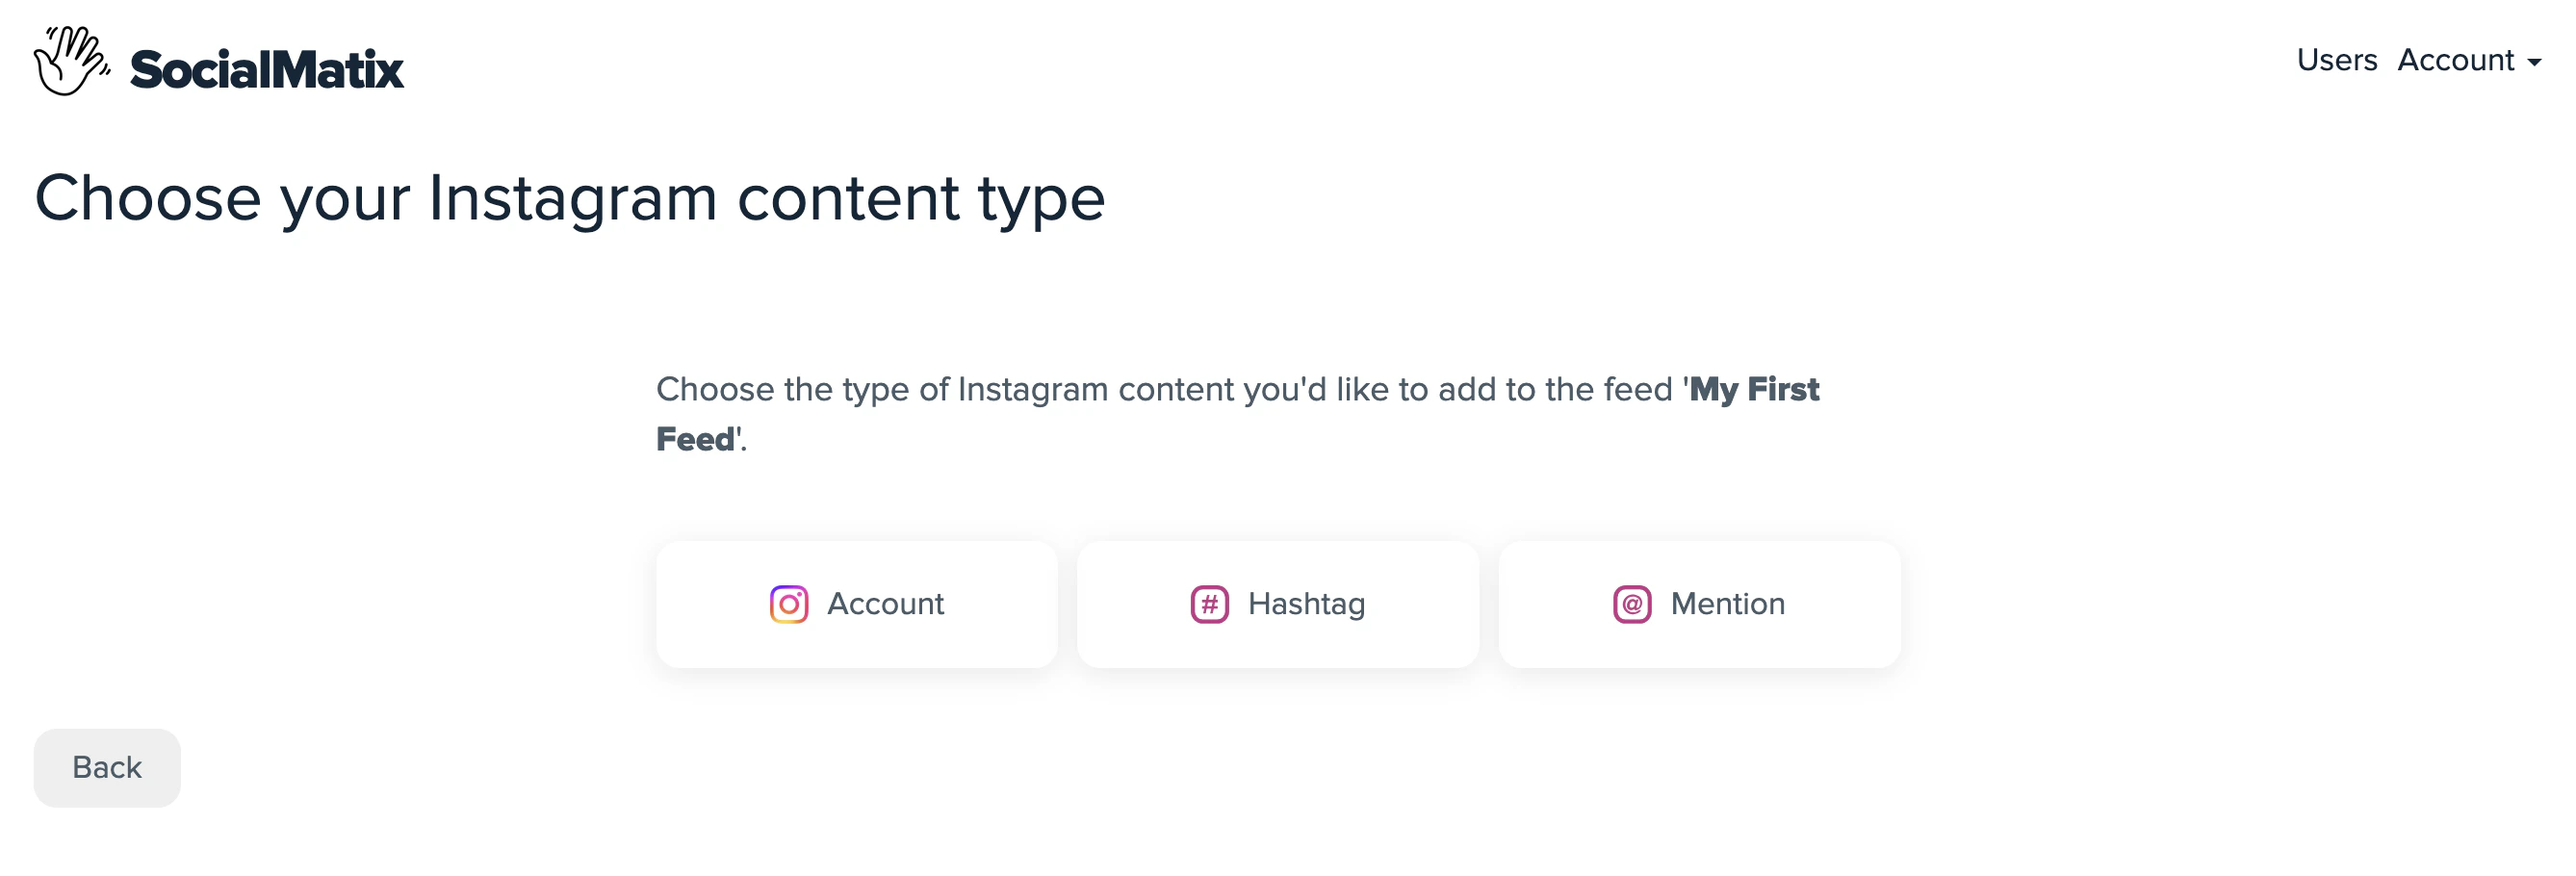
Choose a social network

Screenshot 2026 06 02 At 15 21 29
Select a source from the list, for example, Instagram). Available sources differ depending on your plan
2

Connect your account

Screenshot 2026 06 02 At 15 25 31
Click ‘Account’ to add your account and follow the OAuth prompts to sign in and authorize SocialMatix to access content from (in this case Instagram). Once authorized, your posts are ingested automatically and become available in the feed.
3

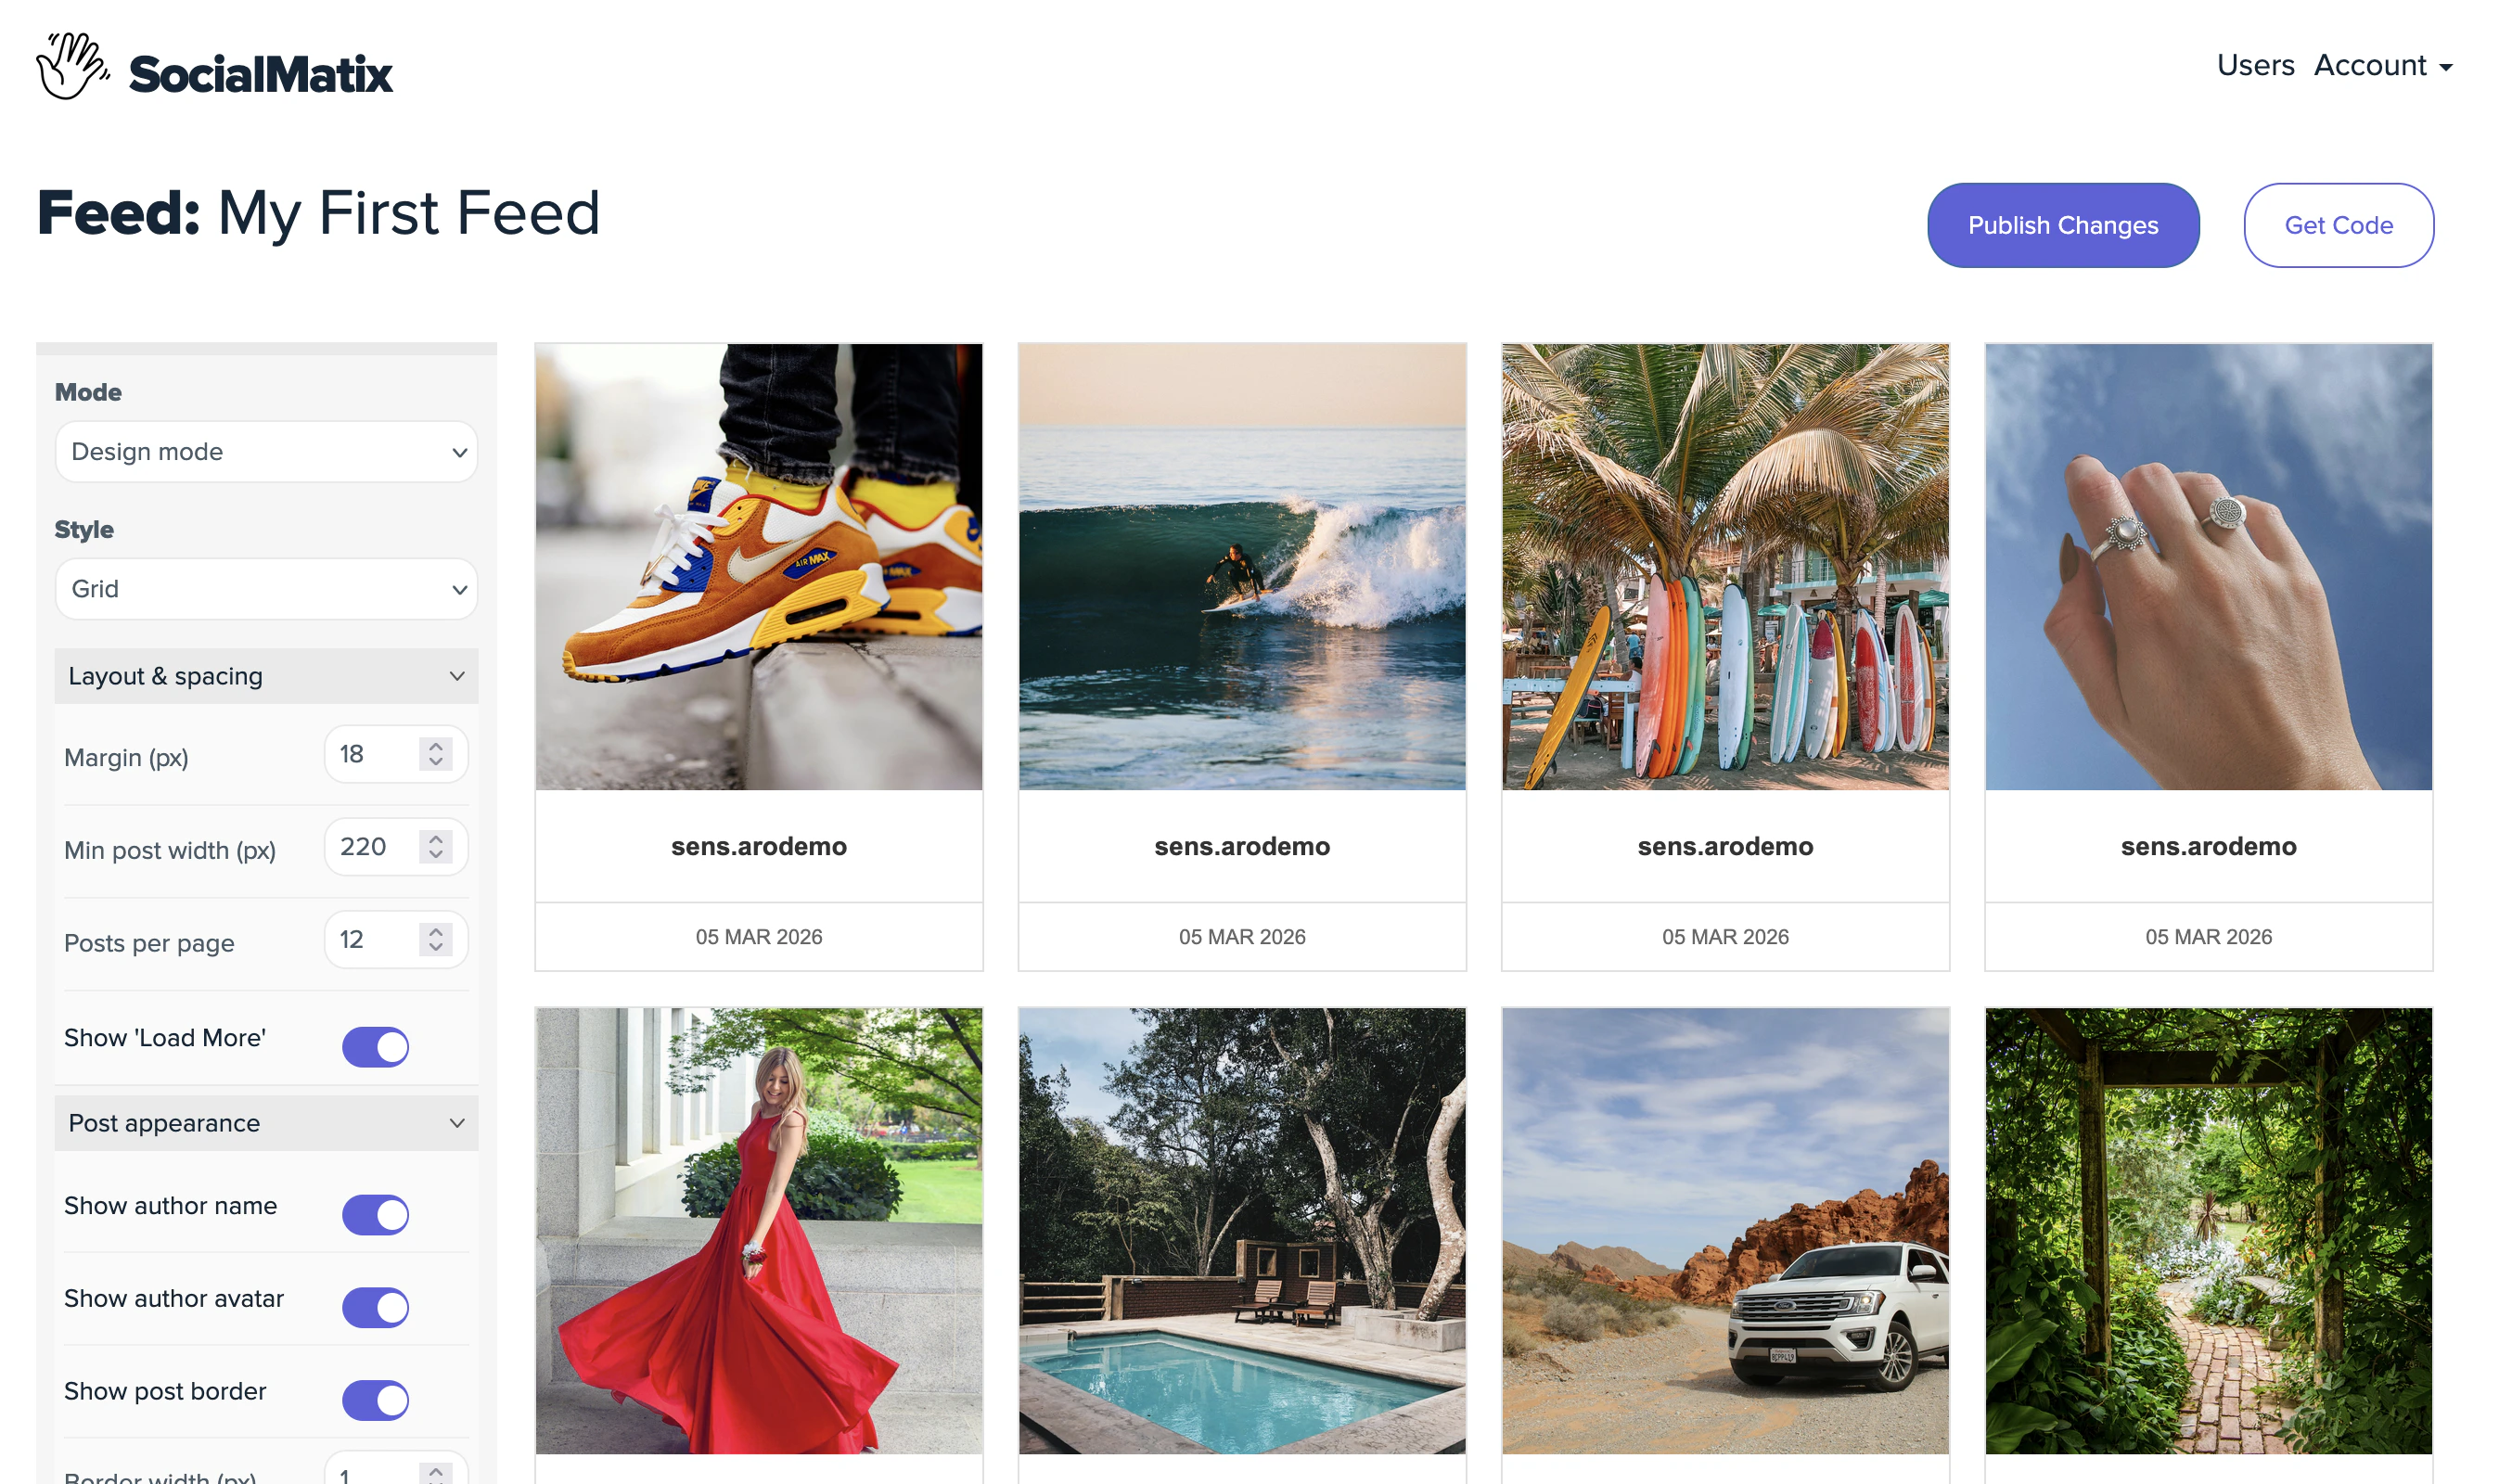
Edit and style your wall

Screenshot 2026 06 02 At 15 33 17
Review the ingested posts. Edit content, hide posts, and adjust styling until the wall looks the way you want.Mode: In design mode (shown above) you can change styles such as colors, margins and borders to make your feed match your website.In Edit mode you can edit the content of the post. This does not change the original post in e.g Instagram. 
4

Publish your changes

Screenshot 2026 06 02 At 15 36 30
Click Publish Changes to save your feed and make it live.
5

Get your embed code

Screenshot 2026 06 02 At 15 38 37
Click Get Code to copy the embed snippet, then paste it into your website wherever you want the social wall to display.
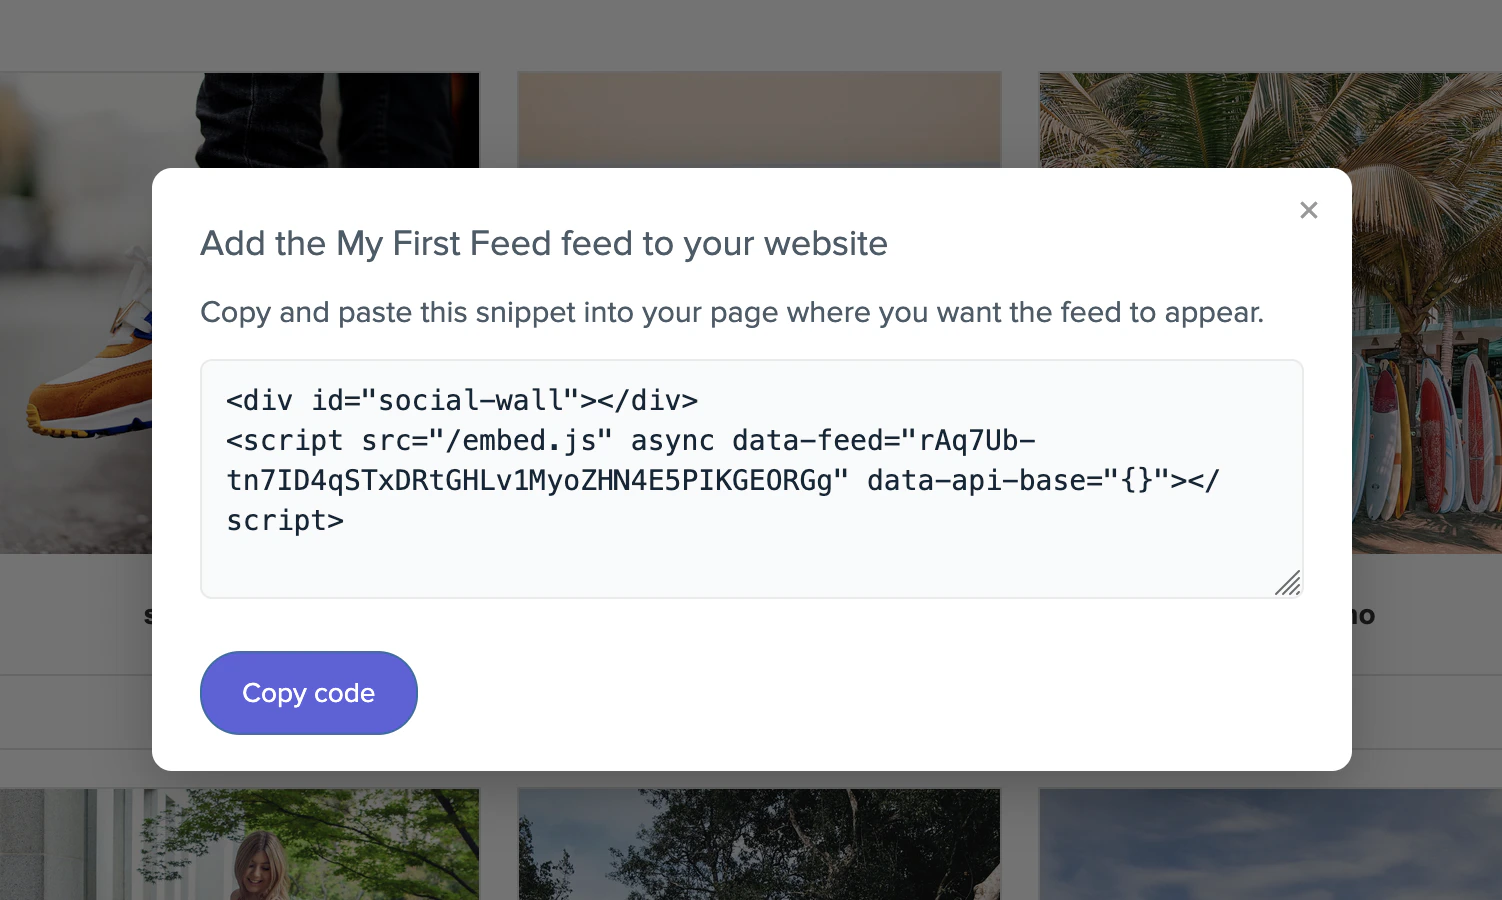
Newly published changes can take a few moments to propagate to embedded walls. Refresh your site to see the latest version.

Next steps